
Checklist: Preparing Botanical Art Prints for Framing and Hanging
A botanical print rarely disappoints on the wall because the artwork was wrong. It disappoints because the margin was trimmed to fit a ready-made frame, the mat was a little too narrow, or the glass sat flush against the paper and left a faint ghost behind it. Small decisions, made once, decide whether a print looks considered for the next decade or bothers you slightly every time you walk past.
Work through these steps in order — the print, the mat, the glazing, the frame, the height, the light — and the hanging itself will take ten minutes.
Start With the Print and Its Margins
Botanical prints usually arrive with a white border, and that border is not packaging. On an engraving or etching, the margin carries the plate mark, the faint embossed rectangle pressed into the paper by the copper plate. Trim it away and you have removed the clearest evidence of how the image was made. On a contemporary print of a pressed fern or a watercolour study of hellebores, a generous margin is simply part of the composition. Leave both alone.
Before you buy a frame or a mat, measure and write the numbers down:
- The full paper size, edge to edge
- The printed image area alone, in both directions
- The width of each margin, since they are often not equal
- The paper weight or thickness, if the seller lists it
Take the measurements twice. Frames are sold by the rebate — the inner opening — and a print that is 30 × 40 cm will not fit a 30 × 40 cm frame once a mat is involved. Hold the sheet by its edges, with clean dry hands or cotton gloves, and check for creases, foxing or edge damage before you commit to framing. Until then, store it flat between two sheets of acid-free board, never rolled in a tube.
Choose the Mat Before the Frame
A mat is not decoration. It gives the eye somewhere to rest, keeps the paper away from the glazing, and stops a small print from looking lost inside a large frame. As a rule of thumb, a print up to A4 looks right with a 5–7 cm mat; larger works can carry 8–10 cm. If the print has a very narrow printed border, go wider — a cramped mat is the most common reason a framed botanical looks cheap.
Proportions that work
Bottom-weighting helps. Adding an extra 5–10 mm of mat below the image, rather than above it, subtly lifts the composition and stops it from appearing to sink. For a print with deckled or torn edges, consider float mounting instead: the whole sheet is raised on foam board so all four edges are visible, held by hinges behind the paper rather than over it.
Materials and hinging
Use pH-neutral, acid-free mat board and an acid-free backing board. Ordinary cardboard will yellow and burn the paper over time. Attach the print with two small hinges along the top edge only, using gummed linen tape or Japanese paper and wheat starch paste for anything you value; self-adhesive tapes can stain and are difficult to reverse. Hinging at the top alone lets the paper expand and contract with the seasons without buckling. Avoid dry mounting unless the print is genuinely replaceable.
Pick the Glazing With the Room in Mind
Standard glass is inexpensive and does not scratch, but it is heavy, breakable and offers no protection from fading. UV-filtering glass or acrylic blocks most ultraviolet light and is worth the upgrade in a bright room, though it will not stop all visible-light fading. Acrylic glazing is lighter and safer — the sensible choice above a bed, a sofa or a child's reach — but it scratches easily and carries static, so dust it with a soft dry cloth rather than a wet one.
Etched, non-glare glass softens reflections and, in doing so, softens the image; reserve it for a print hung opposite a window where glare is unavoidable. Whatever you choose, make sure the mat or a spacer keeps the paper a few millimetres away from the glazing. Contact between paper and glass traps moisture and is how tide marks and mould begin.
Hanging Height, Hardware and the Wall Itself
Check the frame and fittings
Lay the framed print face down and look at the back. Two D-rings set a third of the way down from the top, joined by a taut picture wire with a little slack, will keep it hanging level. A single nail in a single hook lets a frame drift out of true. Use hardware rated for the weight — a large glazed frame is heavier than it looks — and fix into a stud or use proper wall anchors for plaster and drywall. For anything wide, two hooks set apart are steadier than one.
Find the height
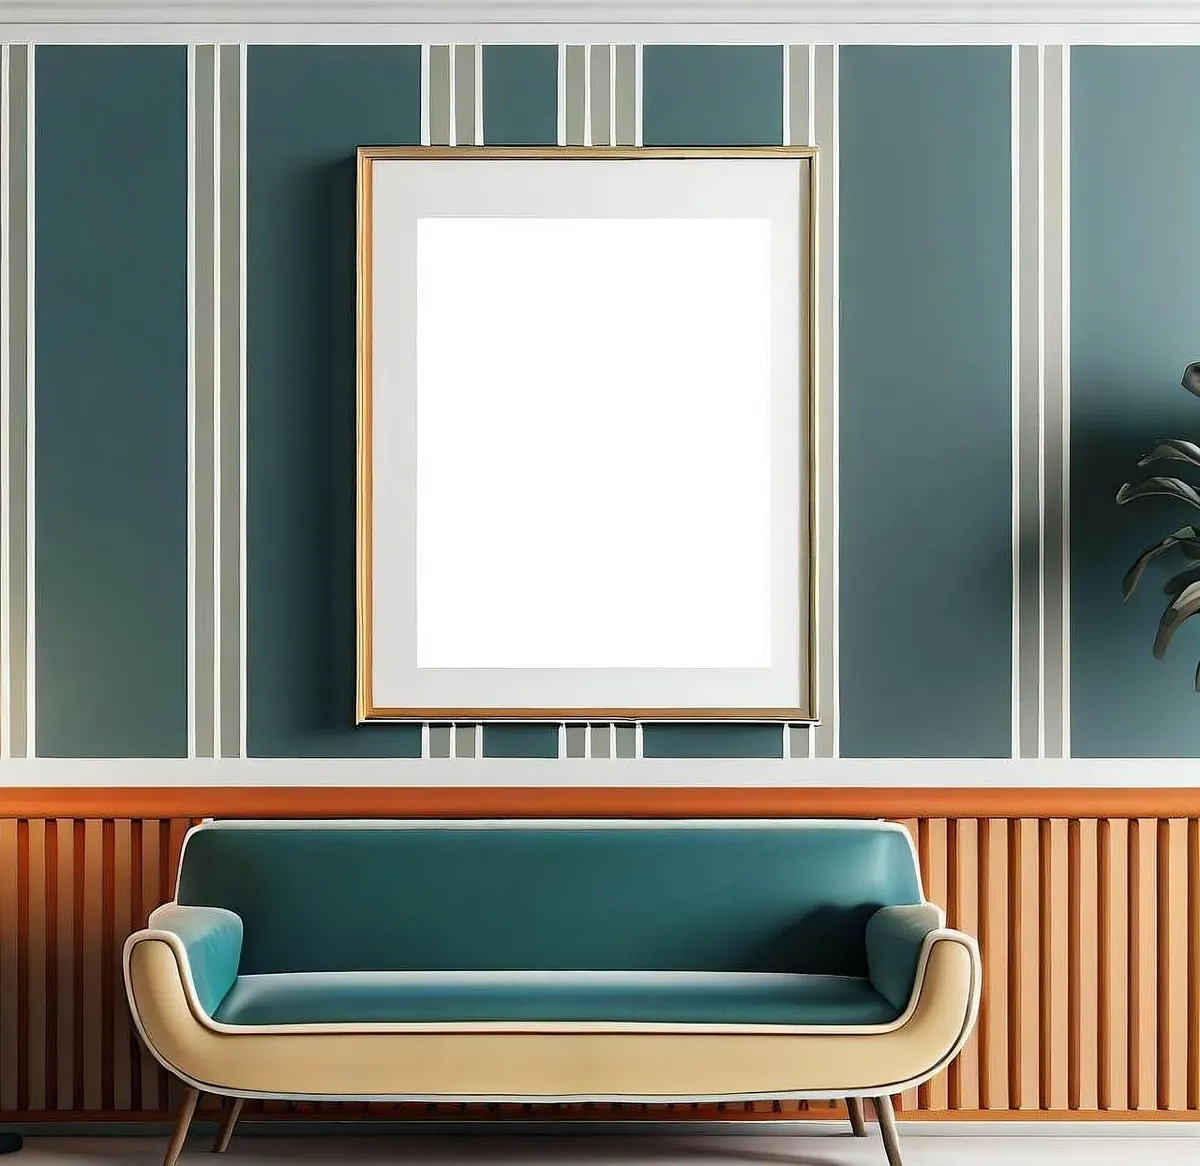
For a single print on an open wall, the centre of the image usually sits around 145 cm from the floor, roughly eye level for most adults. Above furniture, the rules change: hang 15–25 cm above the back of a sofa or console so the two read as one arrangement. In a hallway or above a desk, place it at the eye level of the person who will actually stand there. Pairs and small groups look best spaced 5–8 cm apart, with the frames aligned on a shared centre line rather than a shared top edge.
Light Exposure and Room Conditions
Fading is cumulative. A print that receives an hour of direct afternoon sun each day will change faster than one in a north-facing corridor, and no glazing reverses it. Keep botanical prints off walls that take hard sunlight, or fit a blind and use it during the brightest hours. Frame spotlights and picture lights should sit at least 30 cm away and be angled across the surface rather than straight at it, and low-heat LED bulbs are kinder than halogens.
Humidity matters as much as light. Bathrooms, kitchens and walls above radiators or wood-burning stoves cause paper to cockle and mould to bloom behind the glass. If a print must go in a humid room, use acrylic glazing, seal the back with frame tape and accept that it is a temporary home.
A Last Walk-Through Before You Hang
Stand the framed print against the wall for a day before you commit to a nail hole. Check it from the doorway, from the sofa, from standing and from sitting. Then run through this:
- Margins intact, plate mark untouched, no tape on the paper.
- Mat and backing board both acid-free, hinges at the top only.
- Paper clear of the glazing, back of the frame sealed with tape.
- Hardware matched to the weight, two fixings wherever possible.
- Centre of the image at the right height for the room and the furniture below it.
- Position away from direct sun, heat sources and steamy air.
Then measure once more, mark with a pencil, and drill. A well-prepared print is forgiving of almost everything except impatience.
Photo: erika14666 / Pixabay