



How to Press Flowers for Botanical Art Without Losing Their Color
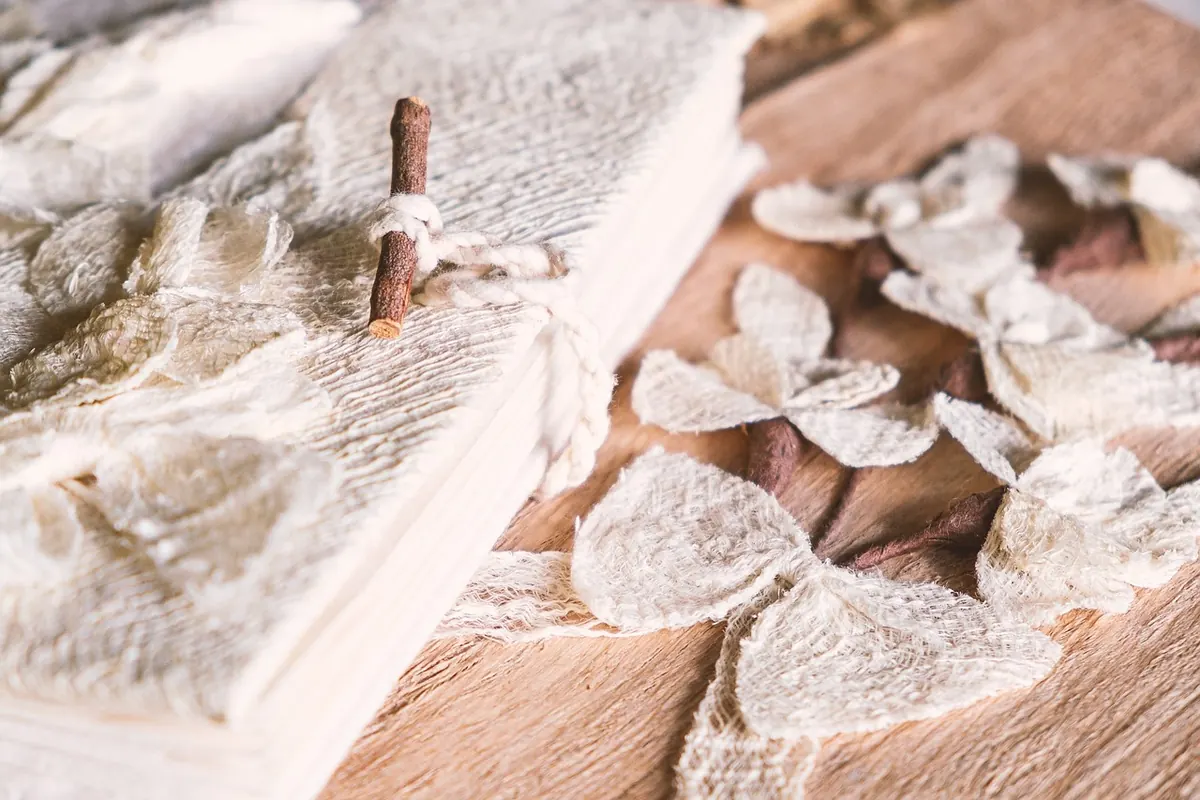
Pick a pansy in the cool of a June morning, press it between sheets of newspaper, and by September you may have a papery beige ghost of it — every trace of violet gone. That fading is not bad luck; it is chemistry, and most of it can be managed. Anyone can flatten a flower. Pressing one so that it still looks like itself six months later comes down to three decisions: when you cut, how you dry, and where you keep the result. Each is simple. They just need to happen in the right order.
Cut at the Right Hour
The single biggest cause of dull pressed flowers is a bloom that was already tired before it reached the press. Cut in the middle of the morning, once the dew has dried but before the day turns hot. Petals should be dry to the touch; a single bead of water trapped under paper can leave a brown stain that never comes out.
Carry what you cut in a flat, rigid box lined with paper rather than a basket or a bag, where stems tangle and petals bruise. Keep the box out of the sun. Skip the vase entirely — a flower that sits in water for two days has already begun to break down, and its petals go limp and translucent. Get specimens into paper within an hour or two of cutting if you can, and never leave a cut flower overnight.
Judge readiness by the flower, not the calendar. A bloom that has just opened holds color longest; one that is shedding pollen or curling at the edges has spent much of what it had. Buds are tempting, but most open poorly once pressed, and half-open flowers usually press better than either extreme.
Choose Flowers That Press Well
Some species cooperate and some fight you. Reliable beginners' flowers include pansies and violas, delphinium and larkspur florets, cosmos, single daisies, cornflowers and small fern fronds. Queen Anne's lace and other umbellifers press into beautiful flat lace, though the tiny florets shatter if handled roughly once dry.
Others need disassembly before they will lie flat:
- Roses — press single petals, or split the bloom in half down the middle so both halves dry flat.
- Daffodils, tulips, lilies — cut lengthwise through the trumpet or throat and open it out like a book.
- Fleshy flowers — hydrangeas, thick-petaled geraniums — dry slowly and mold easily; give them extra paper changes and more air.
- White flowers — nearly all of them yellow with age, so press them fresh and change the blotting paper within the first day.
Strip the thick green calyx where it meets the flower head. A lump of moist tissue pressed against the petals keeps them damp and leaves a shadow of decay behind.
The Basic Press, Step by Step
A heavy book and a sheet of newspaper will work, but a little more structure gives more reliable color.
- Lay down a sheet of absorbent paper — blotting paper or unprinted newsprint. Ordinary newspaper works in a pinch, though the ink can transfer.
- Arrange the flower in its natural pose, spreading every petal with a soft brush or the tip of a pencil. Nothing you want to see should overlap.
- Cover with a second sheet of absorbent paper.
- Sandwich that pair between two pieces of corrugated cardboard, which lets moisture escape sideways.
- Stack several of these layers and press them under four or five kilos of weight, or tighten them in a wooden press.
- Change the absorbent paper after the first 24 hours — it will be damp — then every two or three days until the specimens are stiff and papery. Most flowers take two to four weeks.
Resist the urge to check daily. Every time you lift the paper you disturb petals that are setting into shape, and a half-dried flower tears easily.
When You Need Speed
A microwave flower press can finish a thin specimen in minutes rather than weeks, using short bursts of 20 to 30 seconds with rests in between, and it holds color well when it works. It also scorches in a heartbeat, so test with a spare bloom and stay with the machine. Silica gel is the other fast route, and it preserves three-dimensional shape rather than flattening it: bury the flower in the granular desiccant inside a sealed box and leave it for a few days. Those specimens are fragile and better suited to a deep frame than to a flat page.
Why Color Fades, and How to Slow It
Pigments break down under light, heat, moisture and oxygen, and acidity makes matters worse. That gives you four levers.
- Dry fast. The first day matters most; slow drying is what turns clear reds brown.
- Use acid-free paper for pressing and for storage. Cheap paper yellows and takes the flower with it.
- Keep light away. Store finished work in the dark and display it out of direct sun, ideally behind UV-filtering glass.
- Control humidity. A sealed box with a sachet of silica gel beats a damp cupboard every time.
Expect some drift regardless. Blues and pinks shift first, yellows and oranges hold longest, and greens turn khaki almost as a rule. Pressed botanicals are records of a season, not photographs of it.
Storing and Mounting Without Damage
Store flat specimens in glassine envelopes or between acid-free sheets, inside a rigid box, in a dry room away from radiators and kitchens. Never seal fresh material in a plastic bag; trapped moisture condenses and molds within days. Label as you go — date, place, species if you know it — because a box of anonymous brown stems is far less useful later than it seemed at the time.
For mounting, use archival PVA applied in tiny dots beneath the stem and the thickest parts, or small linen-tape hinges. Glue sticks, rubber cement and self-adhesive tape all fail or stain eventually. Frame with a mat deep enough to keep the plant off the glass, so condensation cannot reach it, and hang the frame away from a bright window.
Start With Something Common
Violets from the lawn. A single cosmos. One delphinium floret. Press a small batch this week, change the paper tomorrow, and watch how the color holds over the following month. Note what you cut, when, and how quickly it dried. After two or three rounds you will know which species in your own garden reward the press — and which ones you would rather photograph and leave standing.
Photo: Bru-nO / Pixabay